
gcloud services enable container.googleapis.com cloudbuild.googleapis.com sourcerepo.googleapis.com containeranalysis.googleapis.comCloudBuild API를 활성화한다.

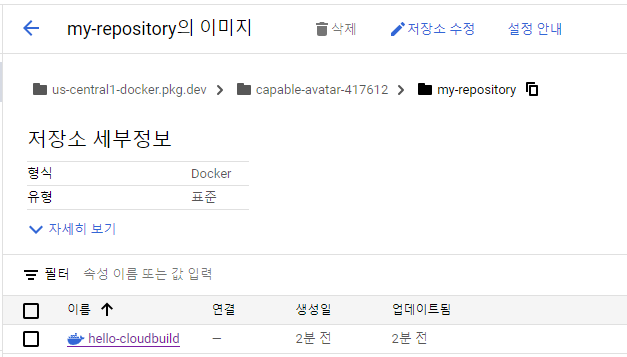
gcloud artifacts repositories create my-repository --repository-format=docker --location=us-central1Artifact Registry에 my-repository라는 이름으로 저장소를 생성했다.

gcloud container clusters create hello-cloudbuild --num-nodes 1 --region us-central1클러스터를 생성한다.
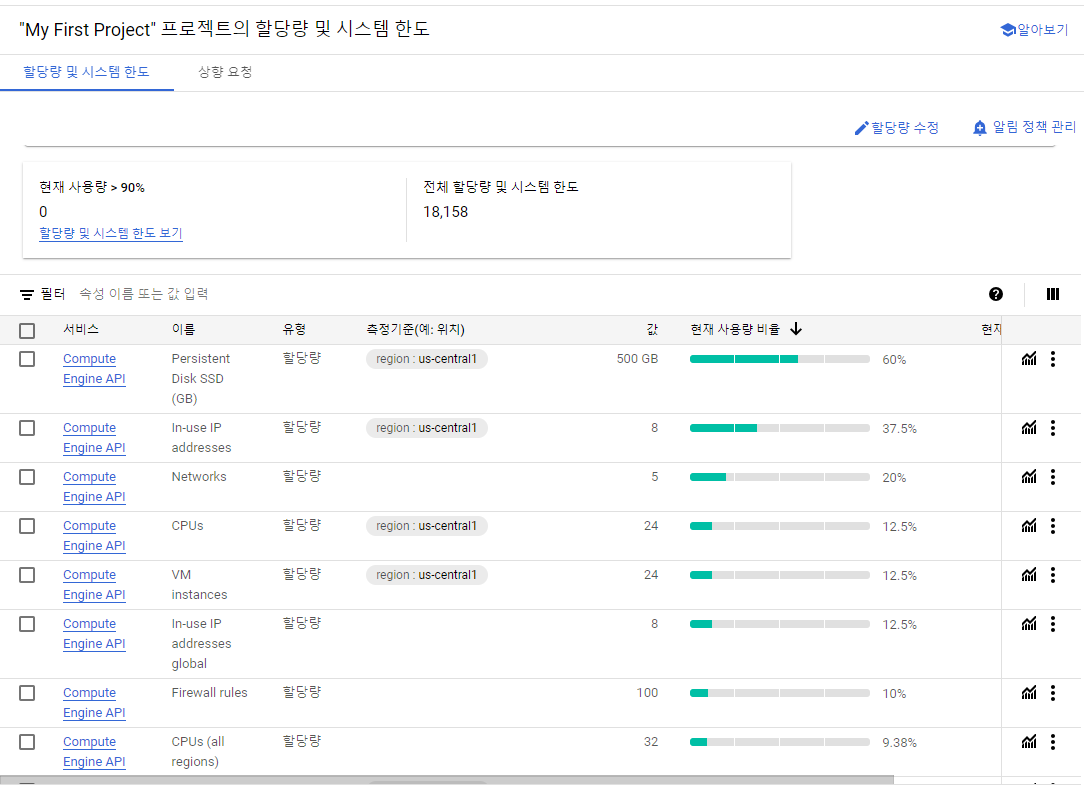
에러 로그에 나온 링크로 들어가니 사용량이 90%나 된다.
git config --global user.email {이메일}
git config --global user.name {이름}
git 설정

gcloud source repos create hello-cloudbuild-app
gcloud source repos create hello-cloudbuild-env
hello-cloudbuild-app, hello-cloudbuild-env 레포지토리를 생생했다.

git clone https://github.com/GoogleCloudPlatform/gke-gitops-tutorial-cloudbuild hello-cloudbuild-app클론 받았다.

cd hello-cloudbuild-app
PROJECT_ID=$(gcloud config get-value project)
git remote add google "https://source.developers.google.com/p/${PROJECT_ID}/r/hello-cloudbuild-app"
원격 리포지토리 설정
cat > Dockerfile<<EOF
FROM python:3.7-slim
RUN pip install flask
WORKDIR /app
COPY app.py /app/app.py
ENTRYPOINT ["python"]
CMD ["/app/app.py"]
# [END dockerfile]
EOF
Dockerfile 작성
# cd ../hello-cloudbuild-app
COMMIT_ID="$(git rev-parse --short=7 HEAD)"
gcloud builds submit --tag="us-central1-docker.pkg.dev/${PROJECT_ID}/my-repository/hello-cloudbuild:${COMMIT_ID}" .
Cloud Build를 사용하여 컨테이너 이미지를 생성 한 후 push한다.

트리거를 만든다.

이름, 저장소, 브랜치를 작성하고 트리거를 생성한다.
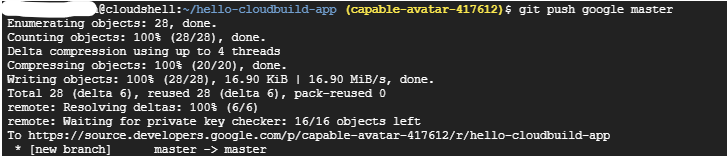
cd ~/hello-cloudbuild-app
git push google master트리거하기 위해 코드를 업로드한다.
PROJECT_NUMBER="$(gcloud projects describe ${PROJECT_ID} --format='get(projectNumber)')"
gcloud projects add-iam-policy-binding ${PROJECT_NUMBER} --member=serviceAccount:${PROJECT_NUMBER}@cloudbuild.gserviceaccount.com --role=roles/container.developer
Cloud Build가 GKE에 접속할 수 있도록 권한을 부여한다.

cd ~
gcloud source repos clone hello-cloudbuild-env

cd ~/hello-cloudbuild-env
git checkout -b production
클론 받은 hello-cloudbuild-env 폴더로 이동 후 production 브랜치를 생성

cd ~/hello-cloudbuild-env
cp ~/hello-cloudbuild-app/cloudbuild-delivery.yaml ~/hello-cloudbuild-env/cloudbuild.yaml
git add .
git commit -m "Create cloudbuild.yaml for deployment"
cloudbuild.yaml 파일 생성

git checkout -b candidate
git push origin production
git push origin candidate
브랜치 생성
PROJECT_NUMBER="$(gcloud projects describe ${PROJECT_ID} \
 --format='get(projectNumber)')"
cat >/tmp/hello-cloudbuild-env-policy.yaml <<EOF
bindings:
- members:
  - serviceAccount:${PROJECT_NUMBER}@cloudbuild.gserviceaccount.com
  role: roles/source.writer
EOF
gcloud source repos set-iam-policy \
  hello-cloudbuild-env /tmp/hello-cloudbuild-env-policy.yaml
권한 부여

CD 파이프라인 트리거 생성
cd ~/hello-cloudbuild-app
cp cloudbuild-trigger-cd.yaml cloudbuild.yaml
CD 파이프라인을 트리거 하기 위해 CI 파이프라인을 변경한다.
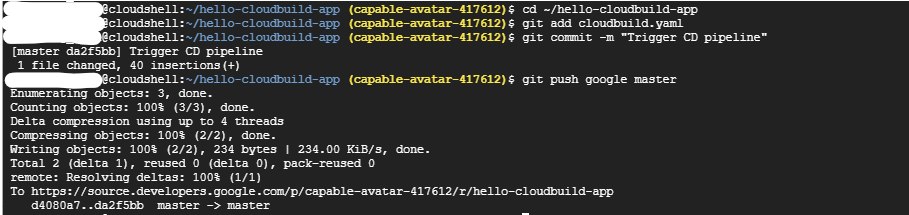
cd ~/hello-cloudbuild-app
git add cloudbuild.yaml
git commit -m "Trigger CD pipeline"
git push google master
저장소에 변경 사항을 푸시
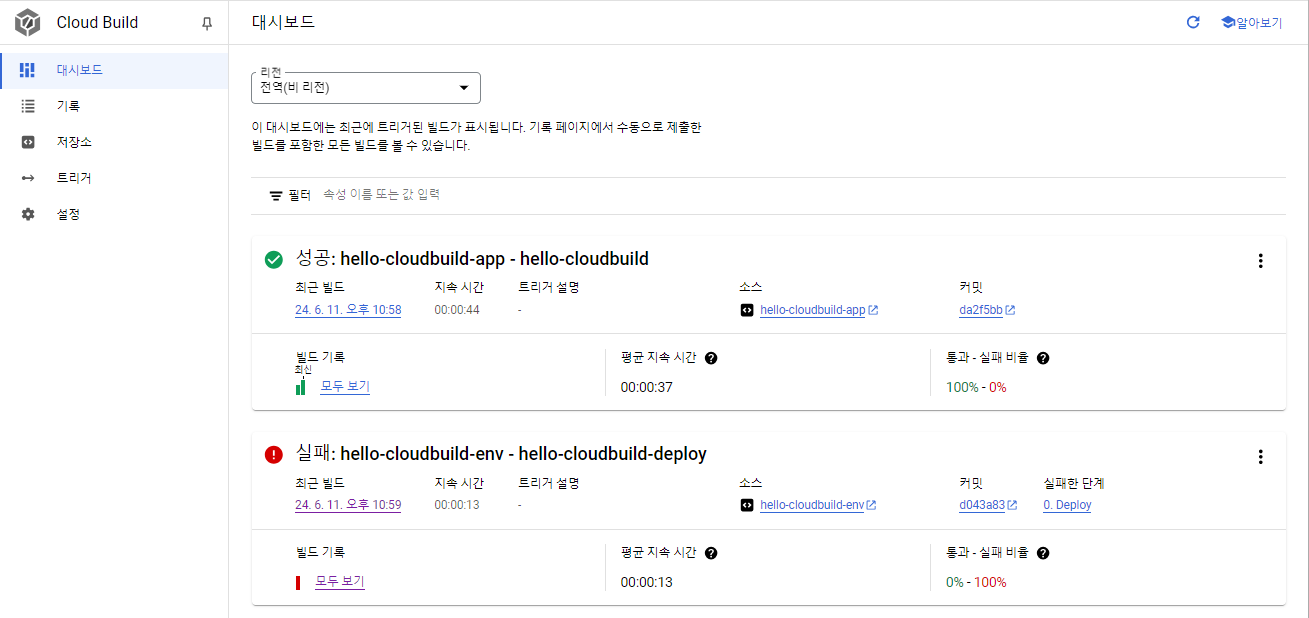
Cloud Build > 대시보드에서 트리거의 성공/실패를 확인할 수 있다.
반응형
'DevOps > Kubernetes' 카테고리의 다른 글
| [Kubernetes] helm (0) | 2024.06.09 |
|---|---|
| [Kubernetes] 배포 (0) | 2024.06.09 |
| [Kubernetes] 컨테이너 생성 (0) | 2024.04.18 |
| [Kubernetes] Workload 생성 (0) | 2024.04.15 |
| [Kubernetes] Standard 클러스터 생성 (0) | 2024.04.12 |